How to set up the Body of your email notifications for your 123FormBuilder online forms?
In the Emails section of your form within the form builder, you can create and customize new email templates. This way, you have control over the content of the notification email that is sent to you and your form users when your form is submitted.
You can create new templates and edit them, in order for the notification email to contain the exact information that you want. You can set up any type of template, from a simple notification message to a complex message that holds all the submitted content.
In this article, we will focus on the Body section of your email templates.
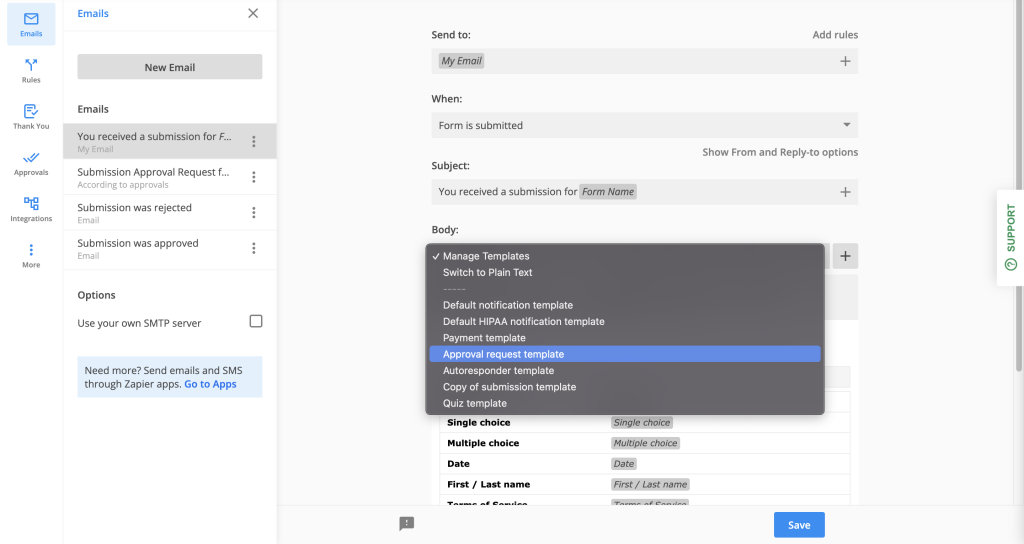
Click on Load template and choose one of the available templates (e.g. Default notification template).
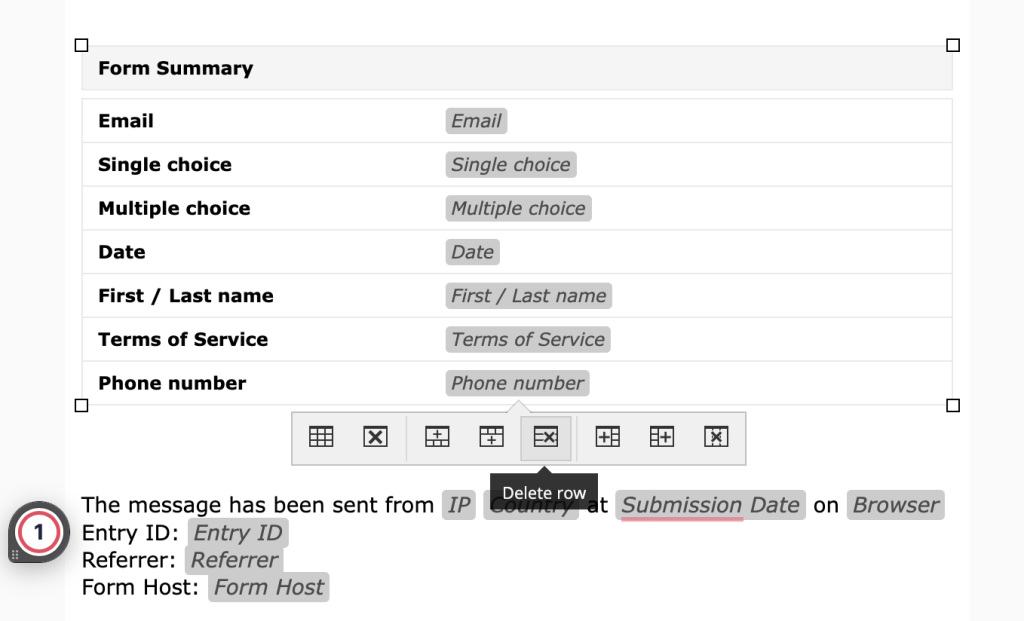
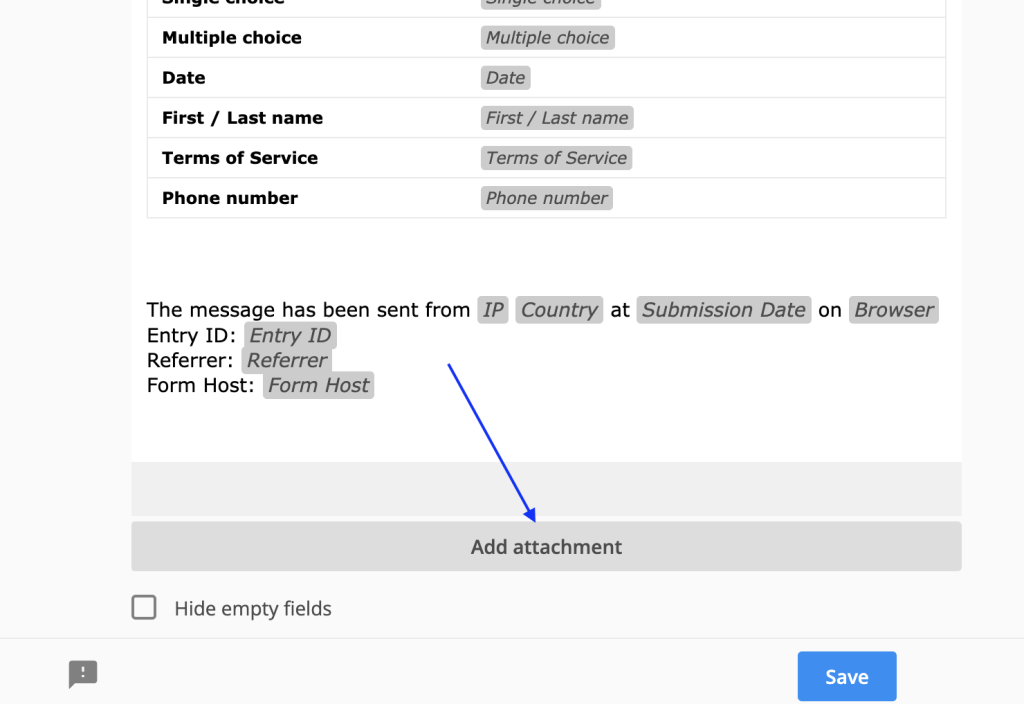
The default template contains an HTML table that renders user input. If you want to remove some of the form fields, delete the corresponding table rows.
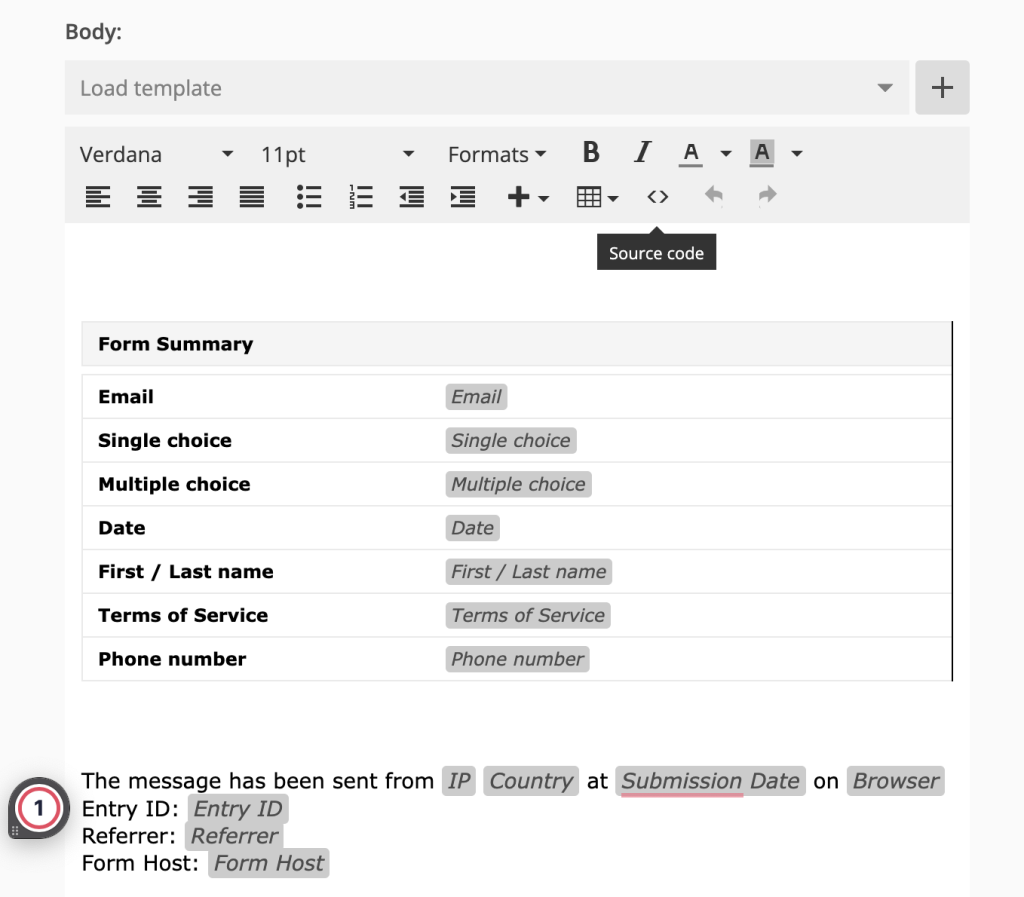
If you want to replace the table with a simple message, then delete the table code by clicking the source code icon ( < > ) and type in your new message.
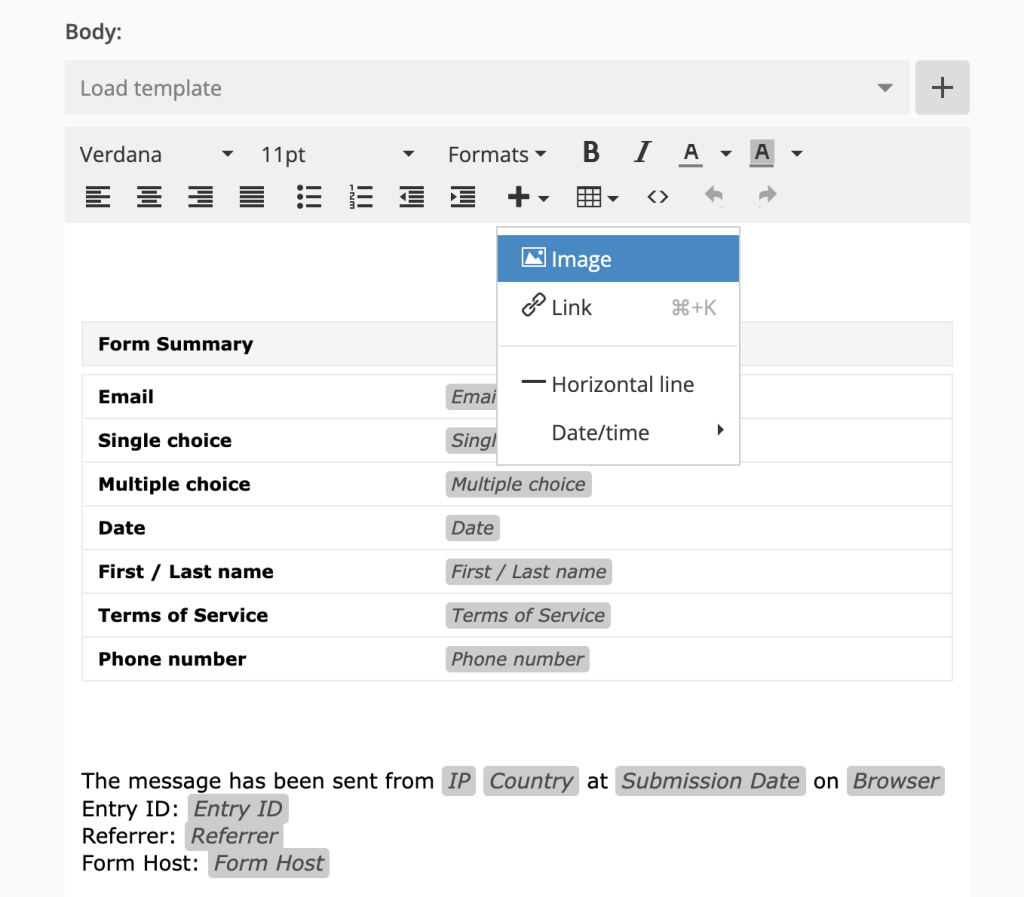
Customize the content of the email by styling the text (font, font size, color, alignment, and more). Click the plus sign from the top menu to add your own links and images.
To insert submission input into the template, click on the plus sign displayed next to the template, and choose fields from the dropdown list (e.g. Name). Make sure to type the label before, because the variable will only show the user inputs, not the label of your field.
Also, there are other options you can benefit from, such as receiving submissions attached as PDF files or send a file.
Hide empty fields: If you enable this option, the fields that haven’t been filled will no longer be included in the notification email. The hide empty fields option works with custom and default email templates.
Similar Articles
Frequently Asked Questions
Here is a list of the most frequently asked questions. For more FAQs, please browse through the FAQs page.
