How can I personalise the link of my form?
You can personalise the link of your form in various ways, depending on your needs and use case. We will take them one by one and show you exactly how they work.
Personalise link
The first option would be to change how your link looks like. You can do that by clicking on Personalise link right below the quick link of your form.
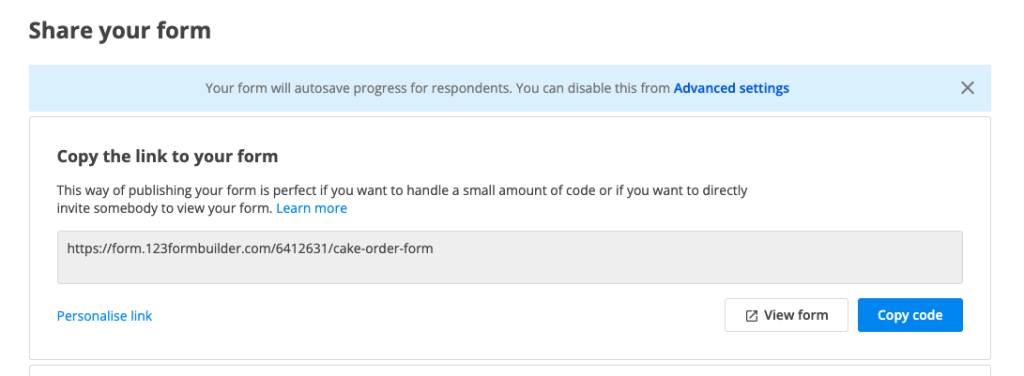
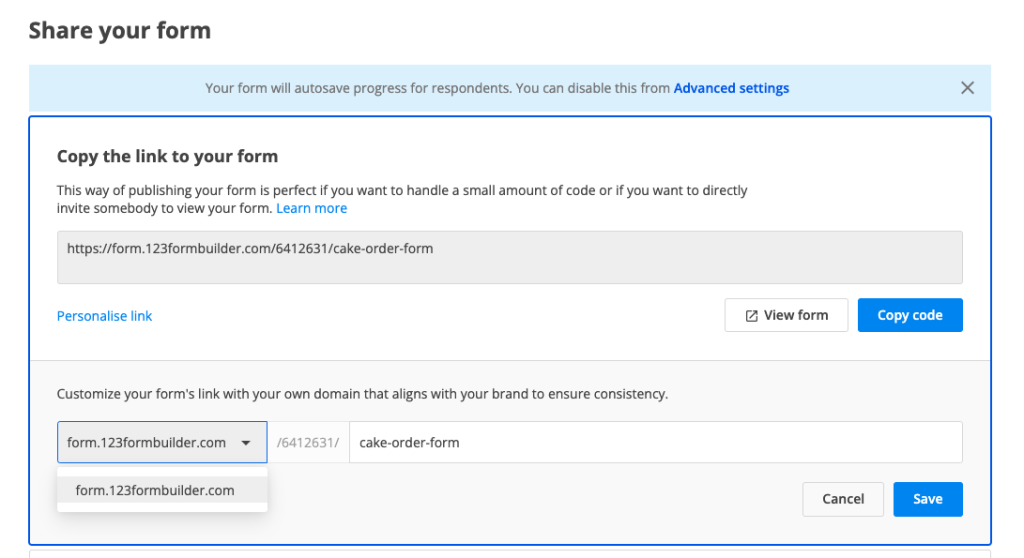
Once you expand the Personalise link section, you have 2 options to change the format of your link:
a. you can change the first part of the link by clicking on the dropdown -> if you have a custom domain applied on your form, by clicking on the dropdown you can switch between the root link that 123FormBuilder is offering and your custom domain one. In our video example below, our form did not have a custom domain applied to it. If we want to start the process of adding one, we can click on Setup custom domain option and we will be redirected to the Custom domain setup.
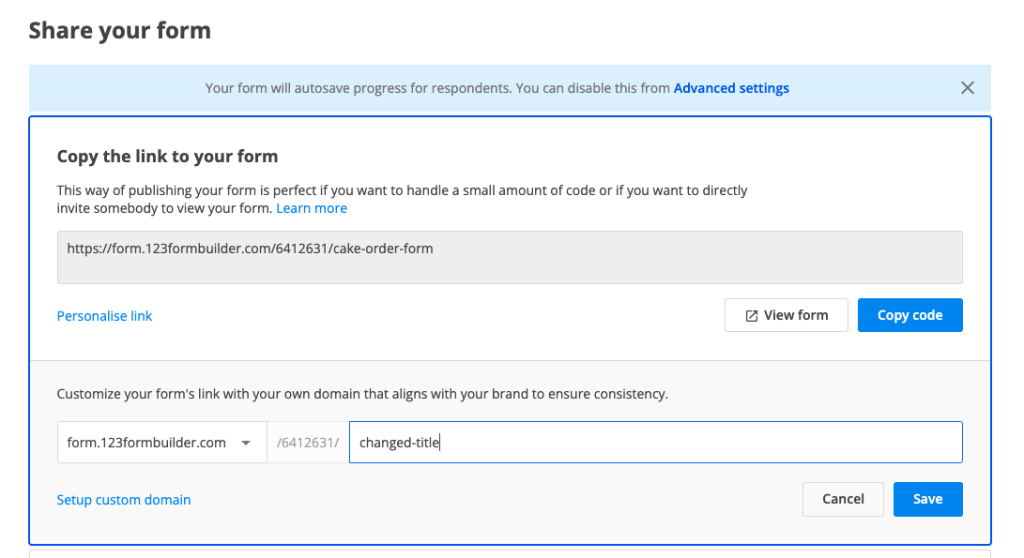
b. you can change the final part of the link by editing the text within the input text box -> by default, your link will contain the name of the form. If you want to change that, you can simply edit the text and click Save.
Setup metadata
When sharing your link with anyone via social media platforms, your link has behind it some metadata information. This includes an image associated with the link, a title or a description. You can customise all of that in order to collect submissions easier.
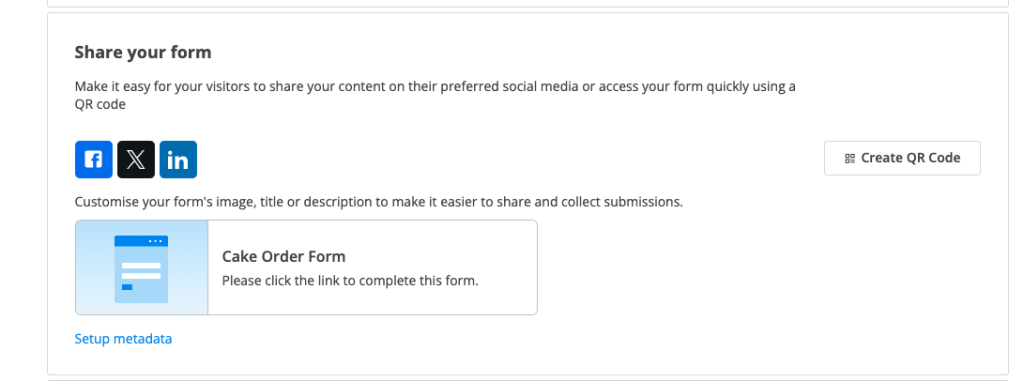
By default, the metadata of your form has a generic photo, the title of the form and a default description. You can customise all that by clicking on Setup metadata.
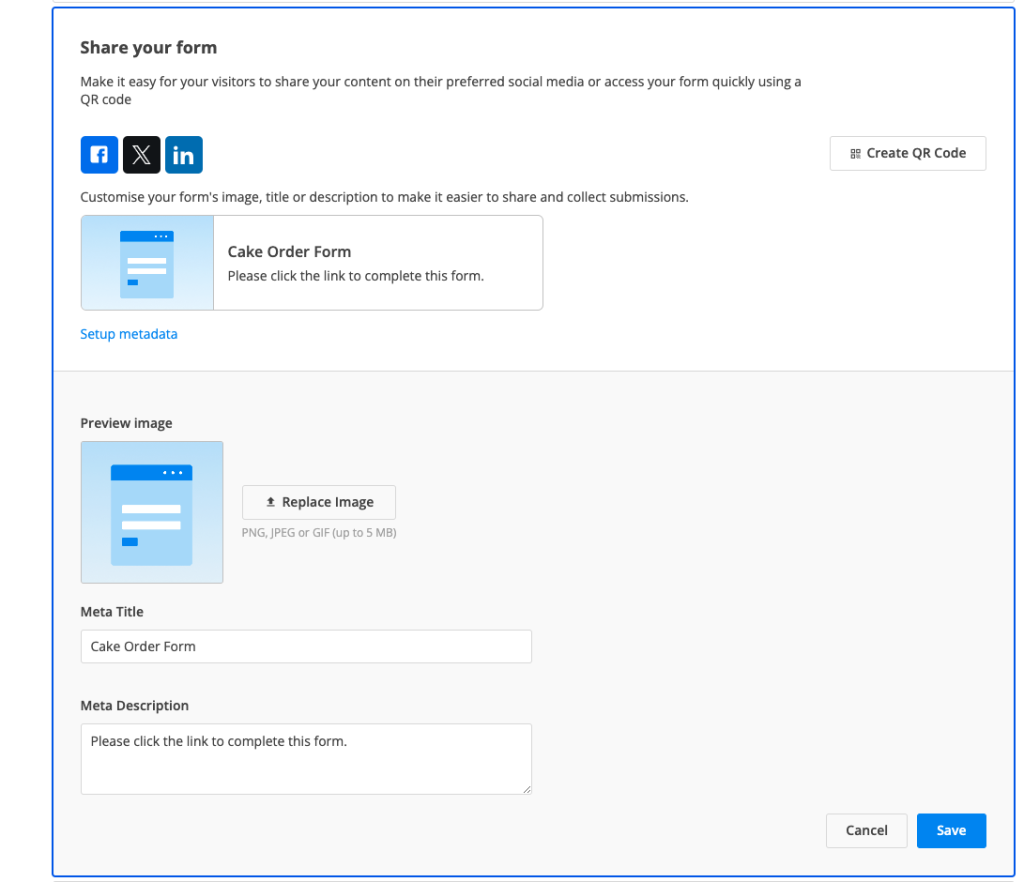
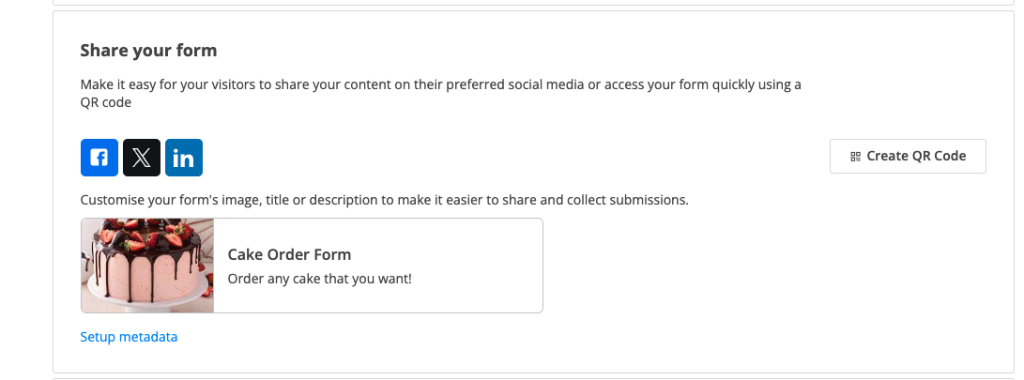
You can replace the image with anything you’d like. The file has to bePNG, JPEG or GIF and up to 5 MB. The Meta Title is by default your form name, but you can change it according to your needs. Last but not least, the Meta Description can also be customised.
Once you’ve made all the necessary changes, click Save. All your changes will be updated directly in Publish section so you could see what your respondents see when you share the link with them.
Custom domain
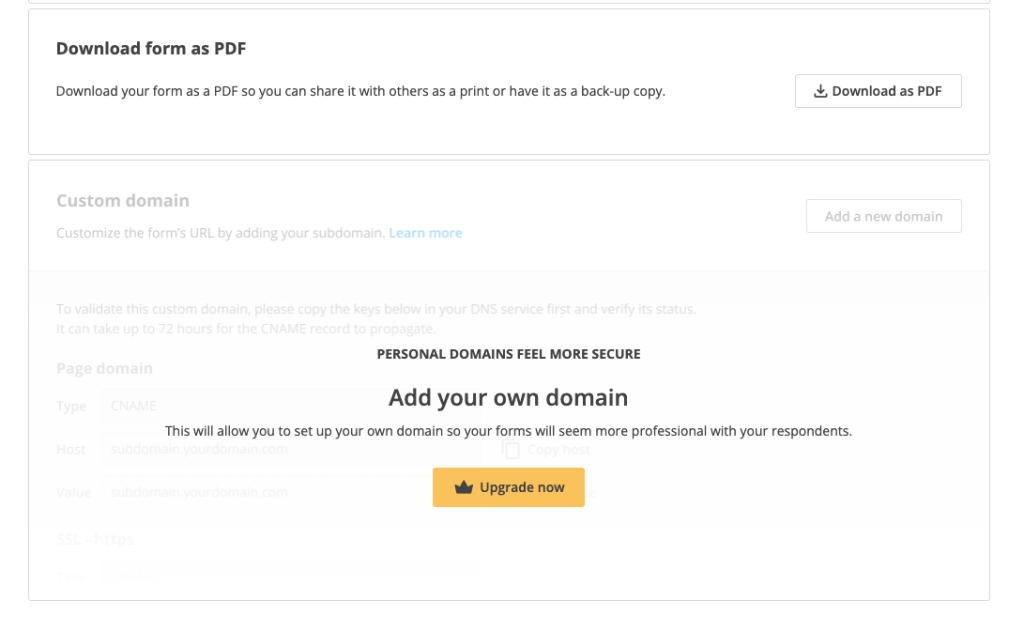
Another option of personalising your form is by applying a custom domain to it. All the necessary steps to set up a custom domain can be found in this article.
Similar Articles
Frequently Asked Questions
Here is a list of the most frequently asked questions. For more FAQs, please browse through the FAQs page.