How to add a custom sender address to an email notification with 123FormBuilder
With our form builder, you can easily set up your email notifications and customize your messages.
By default, we send email notifications from noreply@123formbuilder.com. In this article, you will learn how to send emails using your own custom domain email.
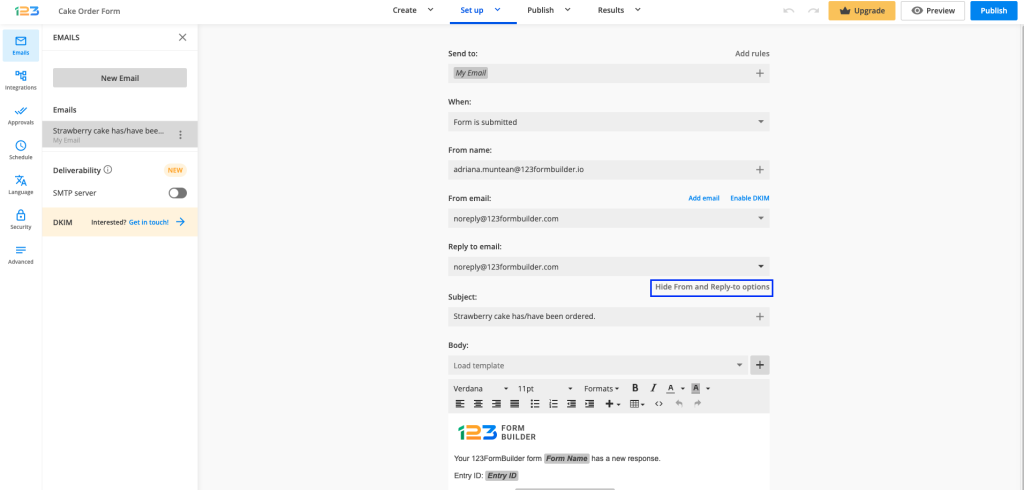
First, go to the Emails section of your form. Then, expand the From and Reply-to options menu.

After that, open the From email dropdown. Here you have two options available:
- Add email
- noreply@123formbuilder.com (default option)
- noreply@myfor.ms
Add email
We incorporated an SPF email authentication tool for the custom email option. This is to ensure that only authentic domains/users send email notifications. We wanted to avoid spam emails, email bounce-backs and to prevent any phishing attempts that are pretending to be a legitimate business.
With this authentication process, you will grant 123FormBuilder permission to send email messages on your behalf.
To accomplish that, you will have to follow the steps outlined in the lightbox that opens when you click on Add email. Click on this guide to find out more details about this subject and obtain our SPF record. Once you are done configuring the SPF record, type in your email domain in Custom email box.
After you click Add, our system will check the email domain. If your email domain isn’t set up properly, an error message will display.
You can use the custom emails on the same form in all your email templates.
Important Note
The configuration must be done on each form. This setup isn’t made at the account level. For newly created forms you will have to add the custom email again.Removing references to our domain
With the noreply@myfor.ms option, you can remove any reference to our domain, 123FormBuilder. This option is available if you have purchased a paid subscription. Visit our Features Matrix for more details.
When you connect your SMTP server, you can’t make any changes to the From email settings. The form automatically prefills the SMTP email sender.
In order to send emails through your own SMTP server, simply follow this guide.
Important Notes
- Forms using our previous notifications version can define a custom sender only by enabling the SMTP feature.
- If you are a White Label user, at From email you have a fourth option available: noreply@whitelabeldomain.com.
Related articles
Similar Articles
Frequently Asked Questions
Here is a list of the most frequently asked questions. For more FAQs, please browse through the FAQs page.
